Changing ViscoRings™
Instructions for the removal and installation a ViscoRing™ inside the Carbide Base footer.
Instructions for the removal and installation a ViscoRing™ inside the Carbide Base footer.

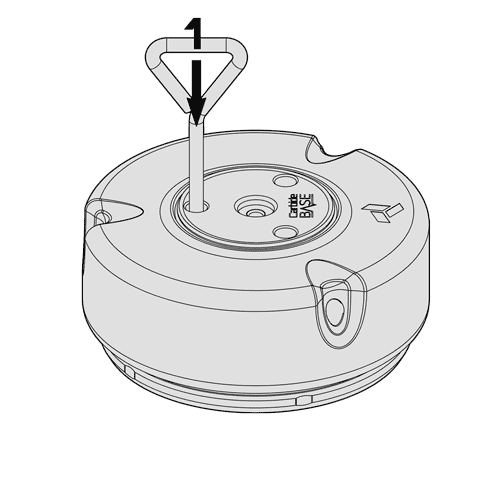
1 Insert supplied screwdriver down into each of the 3 top holes and unscrew the bolts housed within. Note: Once fully unscrewed the bolts will remain under the stainless steel top.

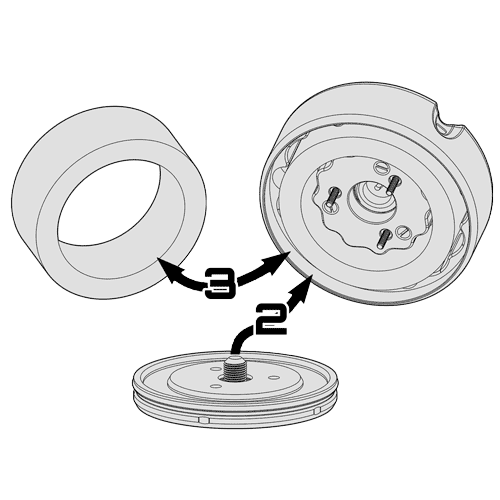
2 Pry apart the upper and lower portions to access the installed ViscoRing™. Be patient prying apart as the ViscoRing™ can become tacky and slow to separate. The bottom portion can be partially unthreaded to increase prying leverage.
3 Replace the ViscoRing™. Ensure that the new ViscoRing™ is fully seated into the recess on top of the base before placing the upper portion on top of it.

4 Align the top holes on the upper portion with the thread holes on top of the lower portion. Press the upper portion down over the top of the ViscoRing™ and lower portion.
5 Insert the screwdriver into the top holes and tighten the bolts housed within. If the bolts still do not align with their holes, remove the upper portion and try again.

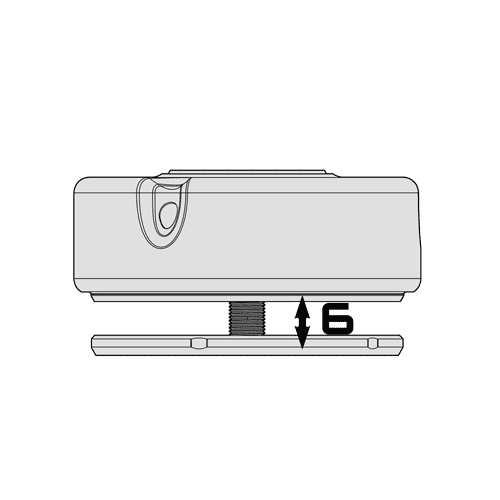
6 (Optional) Unthread the bottom section as needed to increase the height of the Carbide Base footer to level uneven loads.